
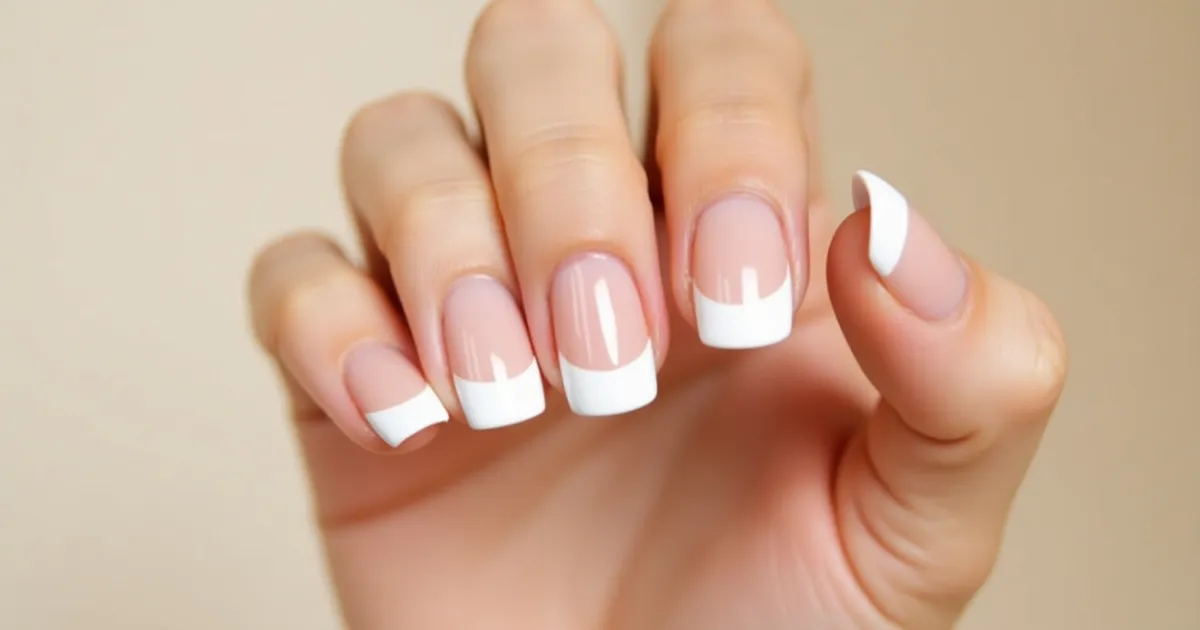
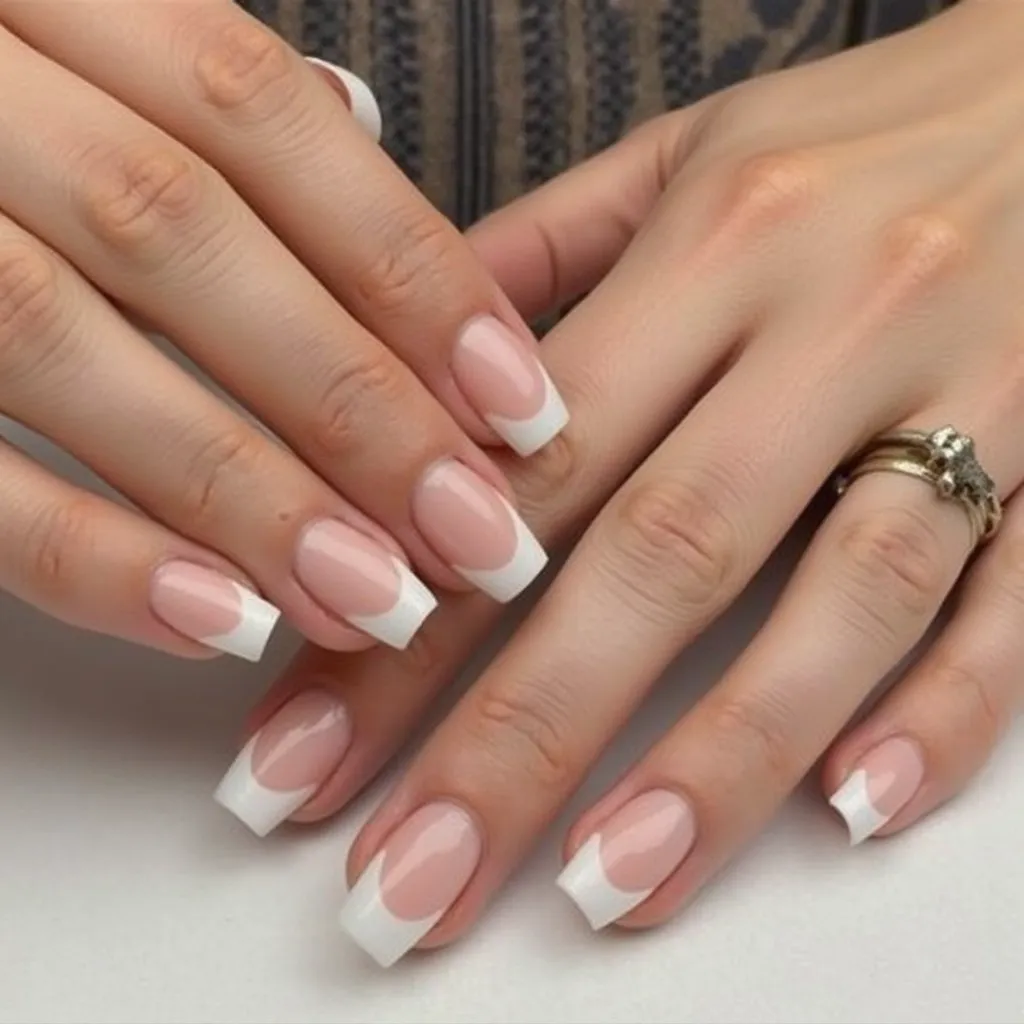
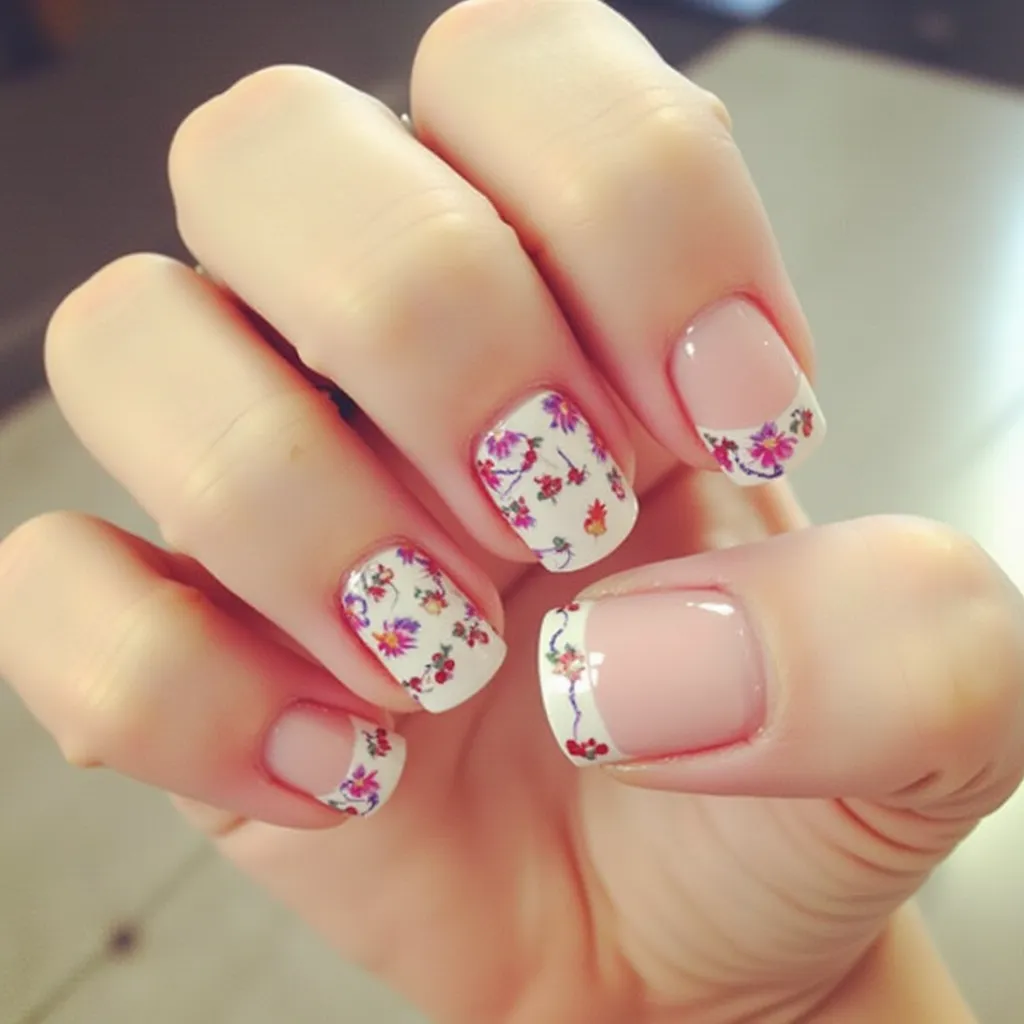
How to Apply French Tip Press On Nails for a Perfect Look
There’s a unique charm to French tip press on nails — their elegance and simplicity make them a classic choice for any occasion. But let’s be honest: who has the time or budget for regular salon visits to maintain a flawless French manicure? Luckily, there’s an easier, more affordable way to get that chic look without the hassle of long appointments or expensive bills: French tip press on nails. These convenient, easy-to-apply nails allow you to achieve salon-quality results from the comfort of your own home.
In this article, we’ll guide you through the process of applying French tip press on nails, from preparation to long-lasting wear. You’ll learn how to create the perfect French manicure, tips for ensuring the nails last longer, and even how to avoid common mistakes that could ruin your flawless look. Ready to take your nails to the next level? Let’s dive in!
Table of Contents
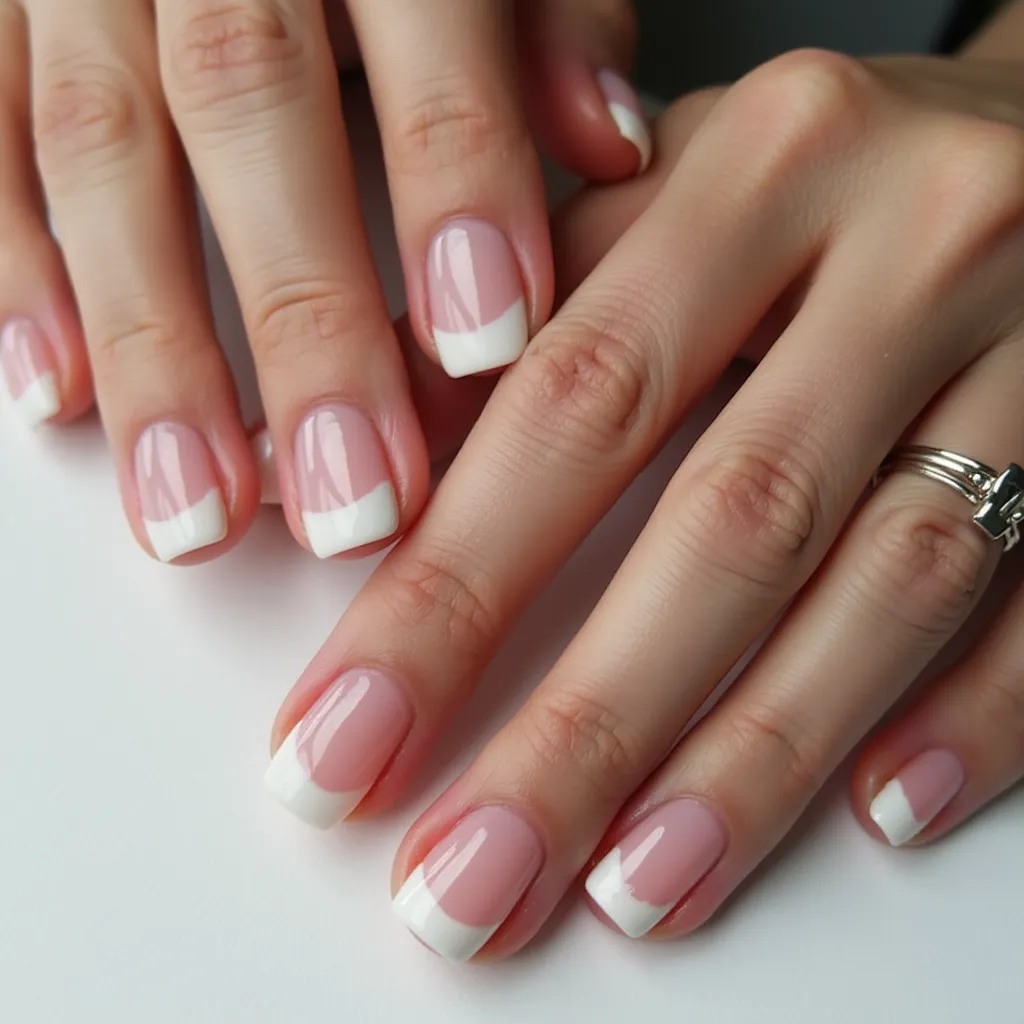
Why Choose French Tip Press-On Nails?
Before we dive into the step-by-step process, let’s explore why French tip press-on nails are an excellent choice for your next manicure.
The Appeal of French Tip Press On Nails

French tip press on nails are a popular trend, and for good reason. Here’s why they’re the perfect choice for your nails:
- Convenience: Applying French tip press on nails takes just minutes, so you can enjoy a flawless manicure without the time commitment of a salon visit.
- Affordability: Press-on nails offer the same chic look at a fraction of the cost of salon manicures.
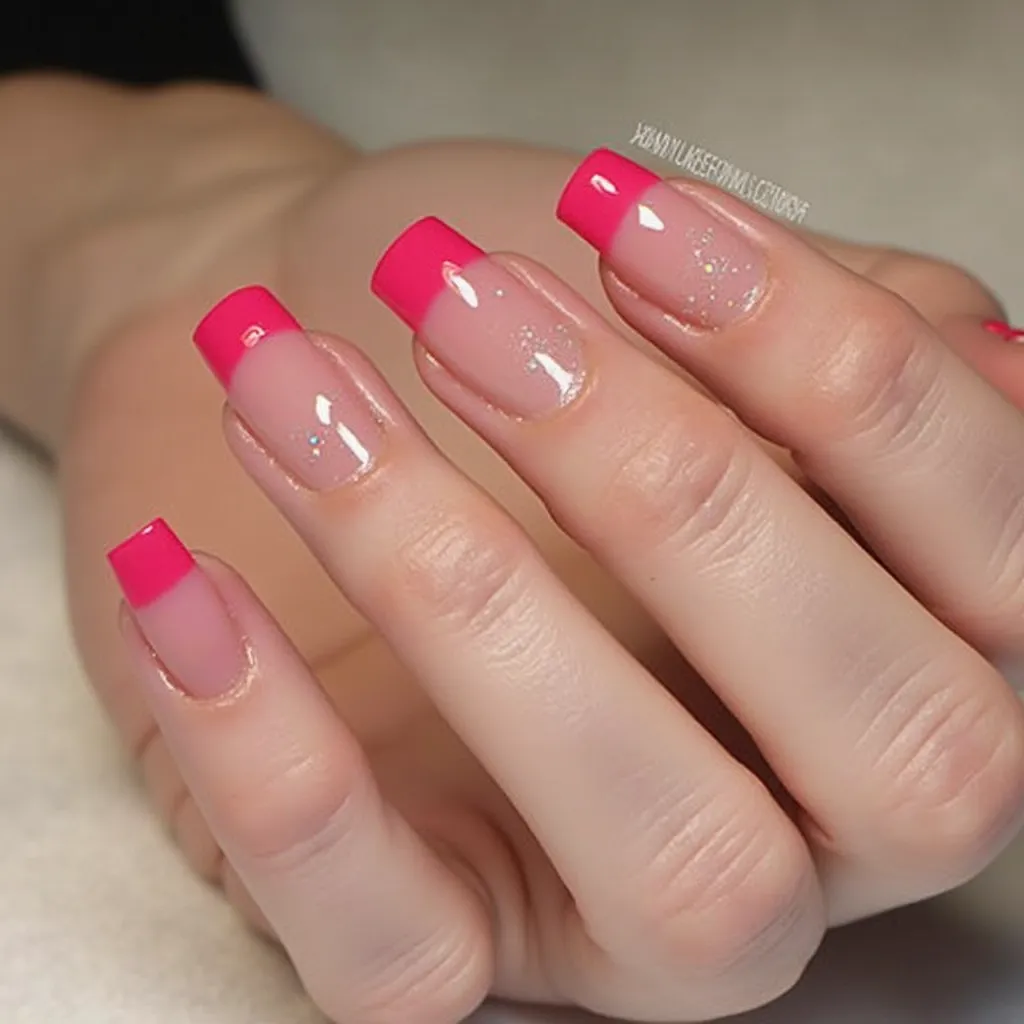
- Variety: From traditional French tips to modern designs, press-on nails come in many variations, so you can personalize your look.
- Reusability: High-quality press-on nails can be removed carefully and reused, saving you money in the long run.
Benefits Over Traditional French Manicures
Press-on nails are not only quick and easy to apply, but they also come with numerous benefits over traditional French manicures:
- No Drying Time: Unlike regular nail polish, press on nails are ready to go as soon as you apply them.
- Long-Lasting: When applied correctly, press on nails can last for up to a week or more without chipping.
- Minimal Maintenance: You won’t need to worry about constant touch-ups or nail polish smudges.
What You’ll Need to Apply French Tip Press On Nails
To achieve the perfect French tip press on nails, it’s essential to gather the right tools. Luckily, you won’t need anything too fancy. Here’s a list of items you’ll need to get started:
Essential Tools for Application
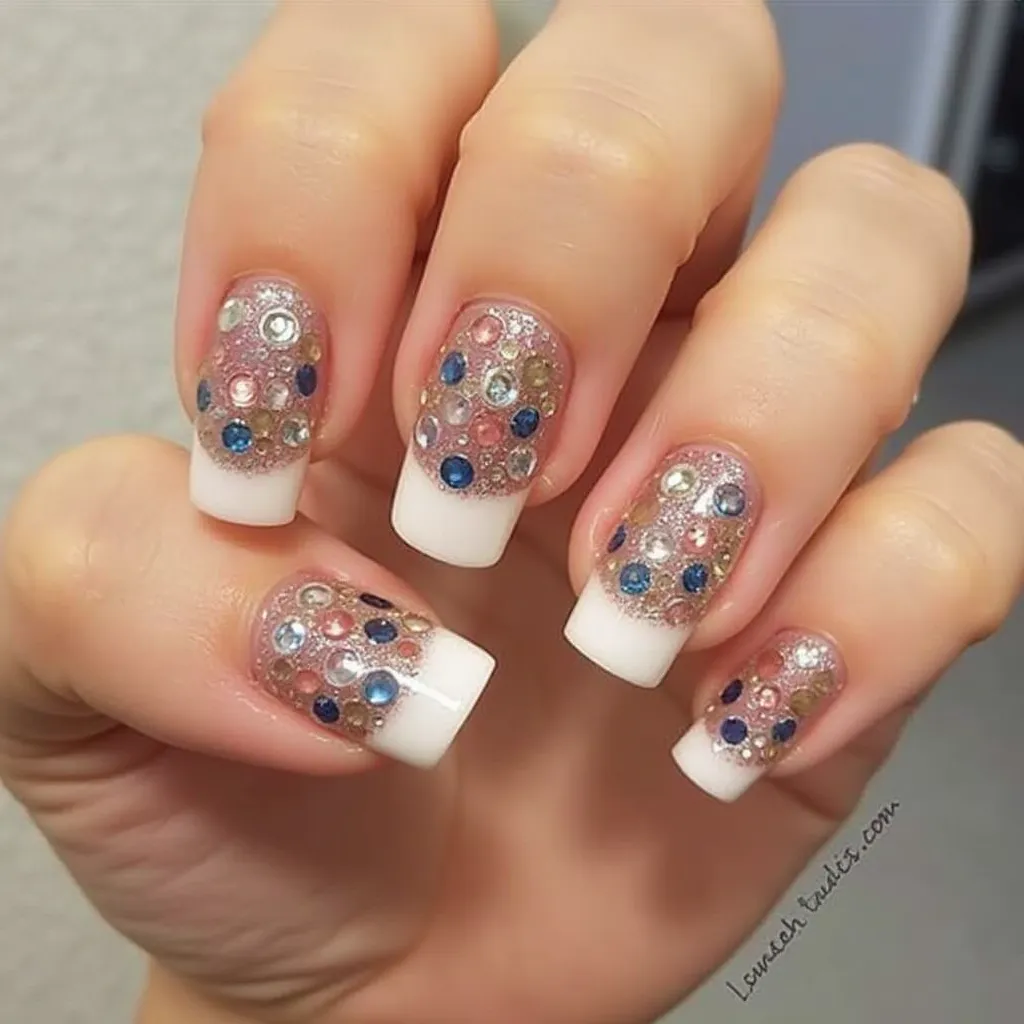
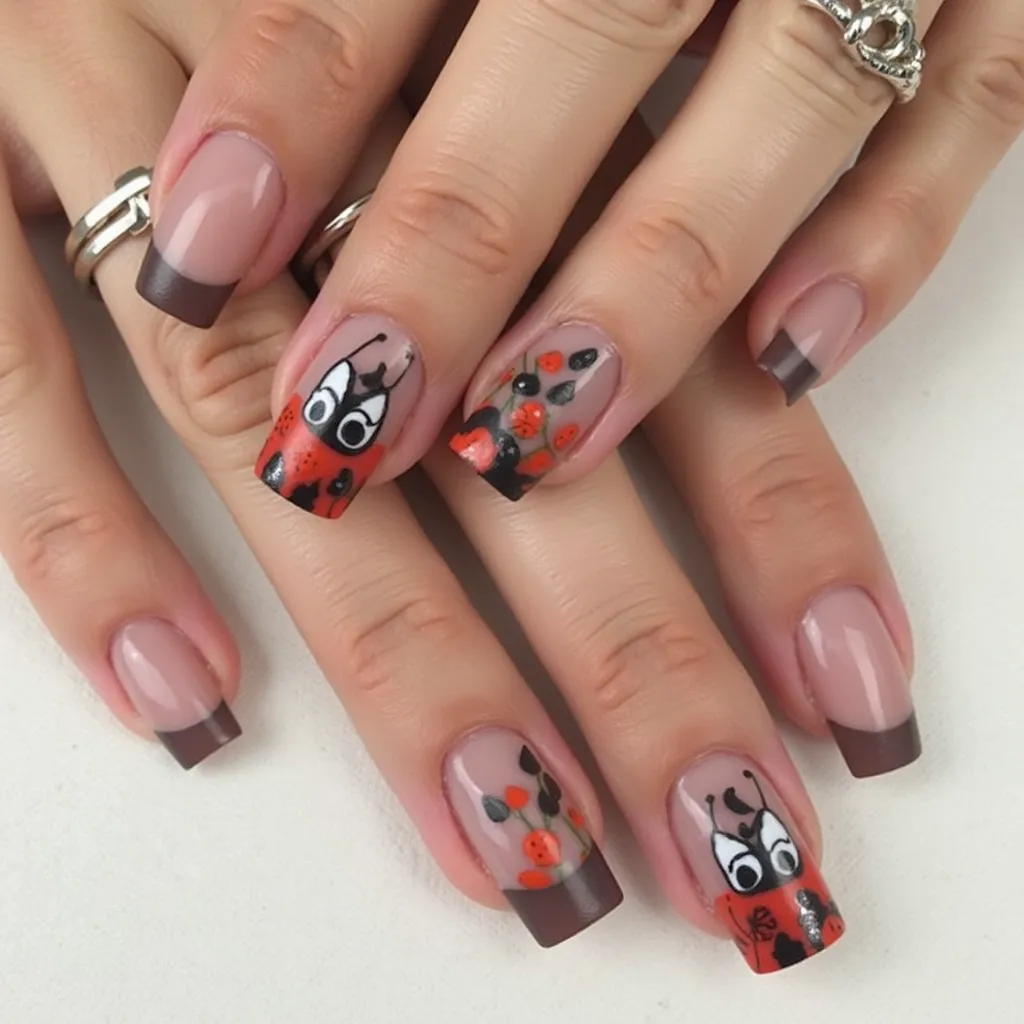
- French Tip Press-On Nails: Choose the French tip design you love, whether it’s the classic white tips or something more modern, like metallic accents or glitter.
- Nail Prep Kit: This typically includes alcohol wipes to clean your nails and a buffer to ensure a smooth surface for adhesion.
- Nail Glue or Adhesive Tabs: You can use either nail glue for a stronger hold or adhesive tabs for a temporary and gentler solution.
- Cuticle Stick: Use this to gently push back your cuticles, creating a clean base for your press-on nails.
- Nail Clippers: If the press on nails are too long, you can trim them to your desired length.
- Nail File: A nail file will help shape your nails to your liking and smooth any rough edges after applying the press-on nails.
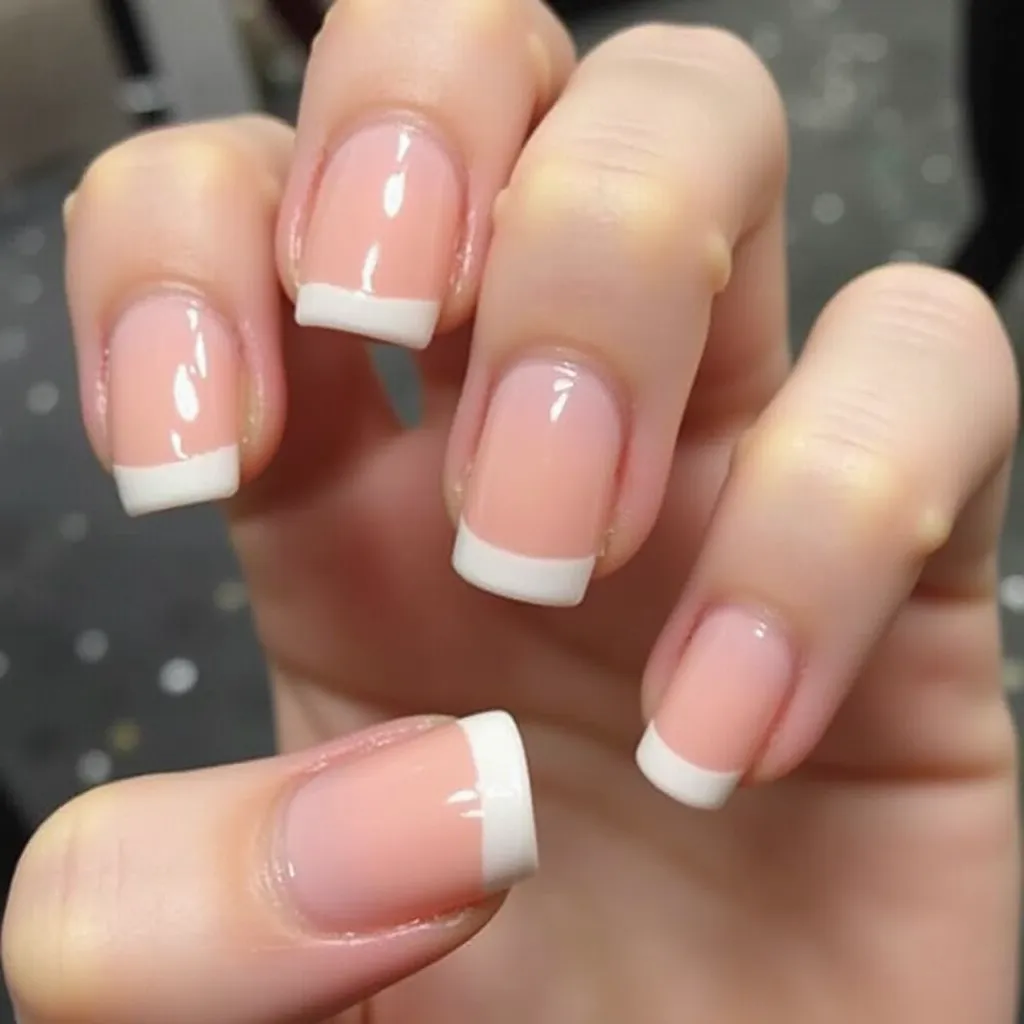
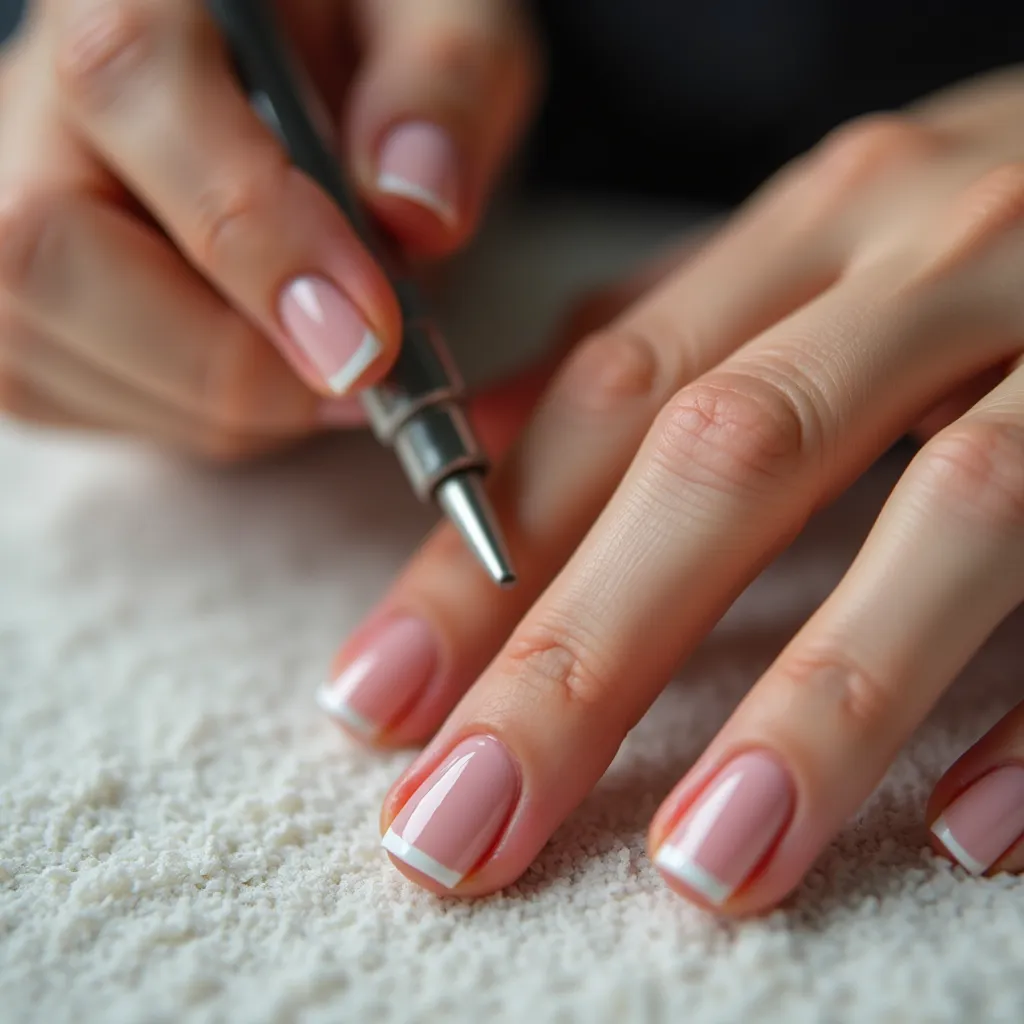
Step-by-Step Guide: How to Apply French Tip Press On Nails
Now that you have everything you need, let’s walk through the steps to applying French tip press-on nails. Don’t worry — the process is easy, and you’ll have your perfect manicure in no time!
Step 1: Prepare Your Natural Nails
Proper preparation is the key to ensuring that your French tip press on nails adhere well and stay in place for a longer period. Here’s how to prep your nails:
- Remove Old Nail Polish: If you have any leftover nail polish, remove it using nail polish remover.
- Clean Your Nails: Wash your hands and nails to get rid of any dirt or oil. Wipe your nails down with an alcohol pad to ensure there is no residue left.
- Push Back Cuticles: Using the cuticle stick, gently push your cuticles back. This step helps make your nails appear cleaner and more polished.
- Buff Your Nails: Buff your nails lightly to create a smooth surface. This step ensures the press-on nails stick better.
- Dry Your Nails: After cleaning and buffing, make sure your nails are completely dry.
Step 2: Choose the Right Size Press On Nails
Now it’s time to select the right press-on nails for each of your fingers. This is a crucial step because the right fit ensures your French tips will look neat and stay on longer.
- Lay Out the Press-On Nails: Arrange the press-on nails in order from thumb to pinky. This will save you time when applying them.
- Test the Fit: Before you apply glue, test each press-on nail on your natural nail to ensure a perfect fit. The press-on nail should cover your entire natural nail, without overlapping onto your skin or cuticle.
- Trim If Needed: If the press-on nails are too long, use a nail clipper to trim them to the desired length. Be careful not to cut them too short.
- File the Edges: If needed, file the edges of the press-on nails to smooth them out.
Step 3: Apply the Adhesive
There are two main ways to adhere French tip press on nails: using nail glue or adhesive tabs. Let’s explore both options:
Using Nail Glue:
- Apply a Thin Layer of Glue: Place a small drop of glue on your natural nail. Be sure to cover the entire surface of your nail for a secure bond.
- Attach the Press-On Nail: Gently press the press-on nail onto your natural nail, starting from the base and pressing toward the tip. Hold it in place for 10-15 seconds to ensure a strong bond.
- Repeat for All Nails: Continue applying the glue and press-on nails until all of your nails are in place.
Using Adhesive Tabs:
- Apply the Adhesive Tab: Stick the adhesive tab onto your natural nail, making sure it’s positioned properly.
- Attach the Press-On Nail: Press the press on nail onto the adhesive tab and hold it down for a few seconds. Adhesive tabs are a great option if you want a temporary hold.
Step 4: Press and Hold
Once the press-on nail is in place, it’s important to press down firmly for a secure bond. Hold each nail for about 10-15 seconds to ensure that it’s properly adhered. This helps prevent any air bubbles or lifting.
Step 5: Shape and File
Once the press-on nails are securely attached, use a nail file to shape the edges of the nails to your liking. You can file them into a square, oval, or almond shape, depending on your preference. Be gentle while filing to avoid damaging the press-on nails.
Step 6: Apply a Top Coat (Optional)
For added protection and shine, apply a clear top coat over your French tip press on nails. This will not only add gloss but also help prevent the tips from chipping, extending the wear of your manicure.
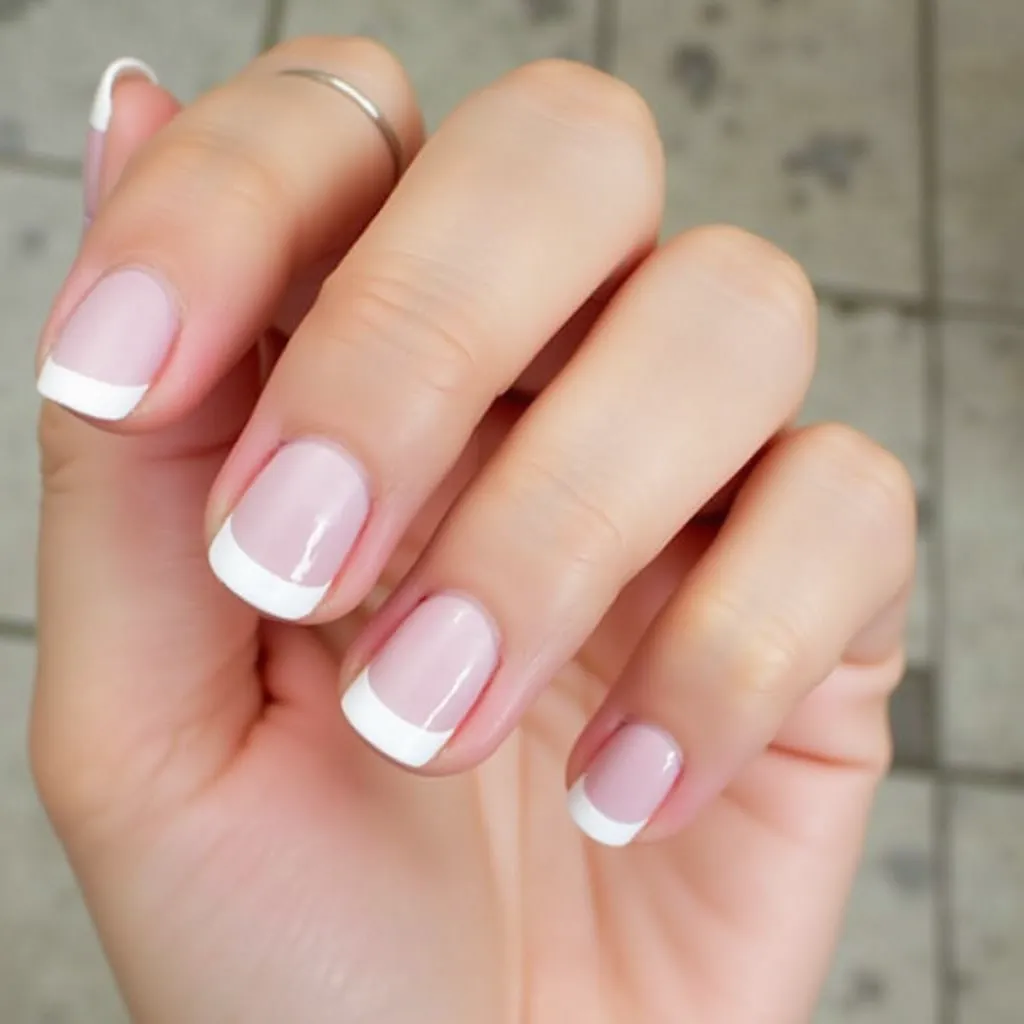
How to Make French Tip Press On Nails Last Longer
To ensure that your French tip press-on nails last as long as possible, follow these tips for longevity:
- Avoid Water Immediately After Application: Try not to get your nails wet for at least an hour after applying your press-on nails, as moisture can weaken the adhesive.
- Be Gentle with Your Nails: Press-on nails are durable, but they can still be damaged if you use them as tools. Avoid using your nails to open cans or scratch hard surfaces.
- Reinforce the Edges: If you want to make sure your press-on nails last even longer, apply a thin layer of glue around the edges to create a stronger bond.
Common Mistakes to Avoid When Applying French Tip Press On Nails
Even though applying French tip press-on nails is simple, there are a few common mistakes you should avoid:
- Not Prepping Your Nails Properly: Skipping the nail prep steps can lead to the press-on nails not adhering well or lasting as long.
- Using Too Much Glue: Applying too much glue can cause the press-on nails to look messy and may spill over onto your skin.
- Choosing the Wrong Size: If your press-on nails don’t fit properly, they’ll look uneven and may lift or come off more easily.
- Rushing the Process: Take your time with each step to ensure a clean, long-lasting result. Rushing through the process can lead to mistakes that affect the overall look.
Conclusion: Enjoy Perfect French Tip Press On Nails
French tip press-on nails offer a fast, easy, and affordable way to achieve a flawless manicure without the hassle of a salon visit. By following the simple steps we’ve outlined above, you can enjoy the elegance and sophistication of French tips in the comfort of your own home. Whether it’s for a special event or just to add a touch of glamour to your everyday look, French tip press-on nails are a perfect choice.
Ready to Try French Tip Press On Nails?
Now that you know how to apply French tip press-on nails, why not give them a try? Whether you’re getting ready for a night out or just want to treat yourself to a beautiful manicure, press-on nails offer a simple and affordable solution. Share your results with us on social media, and let us know how your French tip press-ons turned out!
FAQ: Everything You Need to Know About French Tip Press-On Nails
How Long Do French Tip Press On Nails Last?
When applied correctly, French tip press on nails can last between 5 to 7 days. Proper nail prep and careful handling can extend their wear.
Can I Reuse French Tip Press On Nails?
Yes, many high-quality press on nails can be reused. Just remove them carefully, clean off the old adhesive, and store them properly for future use.
Do I Need Special Tools to Apply French Tip Press On Nails?
No, the process is simple and requires only basic tools like glue, alcohol wipes, and a nail file. No fancy tools are necessary!
Can I Apply French Tip Press On Nails Without Glue?
Yes, adhesive tabs can be used instead of glue for a gentler hold. However, glue provides a longer-lasting and stronger bond.
How Do I Fix a French Tip Press On Nail That Lifts?
If a press-on nail starts to lift, carefully remove it and reapply it with fresh glue or adhesive tabs. If the nail is still in good condition, it should go back on easily.