

Explore Stunning White Ombre Nails and Learn How to Create This Elegant Look for Any Occasion
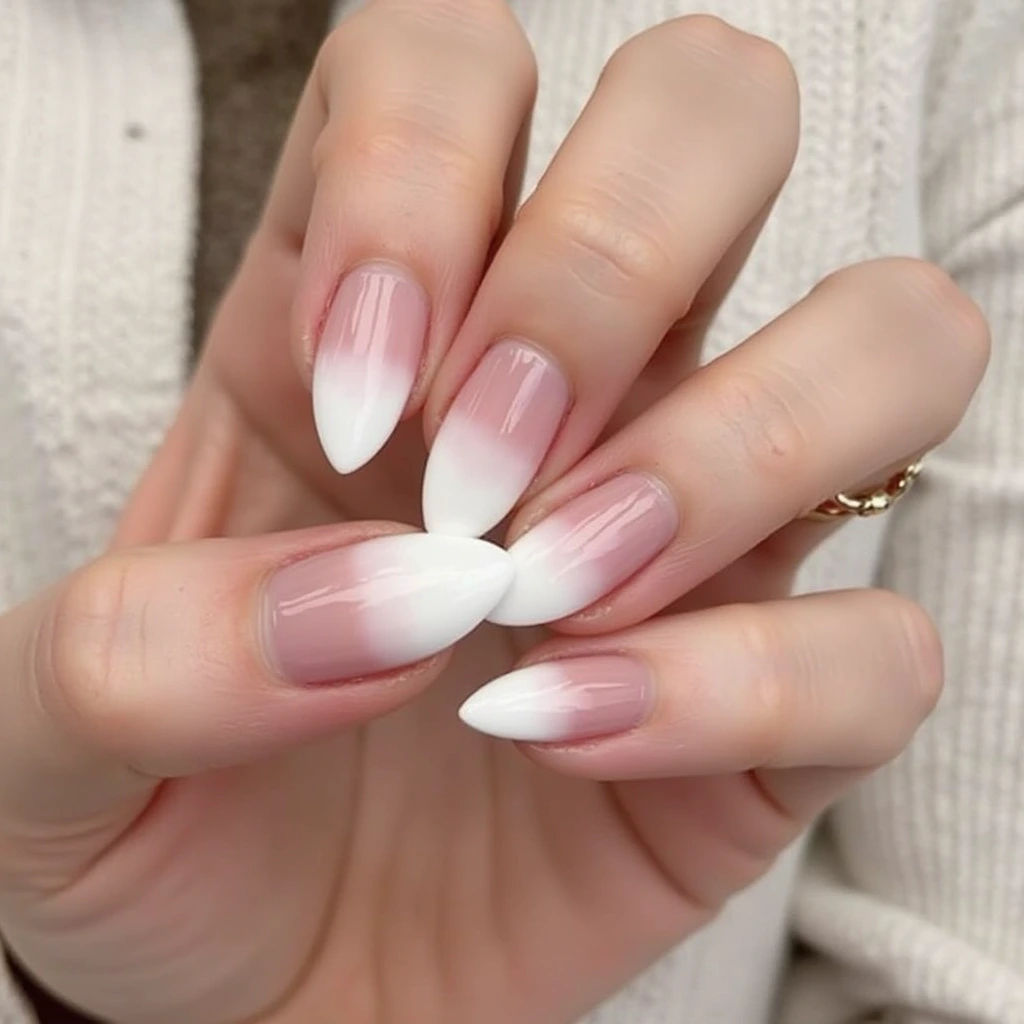
White ombre nails are more than just a trend; they’re a style statement that brings together elegance, softness, and timeless beauty. Whether you’re getting ready for a wedding, a night out, or simply want to update your regular manicure, white ombre nails add a stunning, sophisticated touch to any look. The smooth, blended transition from white to another color—often soft pastels or clear glitter—creates a seamless design that’s both simple and extraordinary.
In this guide, we’ll walk you through everything you need to know about creating stunning white ombre nails that will make a lasting impression. From the step-by-step application to the most popular variations of the design, you’ll discover how easy it is to master this elegant manicure for any occasion.
Table of Contents
Why Choose White Ombre Nails?
Before diving into how to create white ombre nails, it’s important to understand why this design is so popular and versatile.
1. A Perfect Match for Any Occasion
White ombre nails are incredibly versatile. They can elevate both casual and formal looks, making them suitable for a variety of events:
- Weddings: Many brides opt for this delicate, soft design on their big day, as it’s both understated and elegant.
- Formal Gatherings: White ombre nails give a classy, polished appearance, ideal for galas, dinners, or business events.
- Everyday Glam: You don’t need a special occasion to enjoy these nails—white ombre can easily become your go-to chic design for regular outings.
2. Timeless Elegance
The simplicity of the white gradient effect makes it a timeless option. Ombre nails add dimension and sophistication while keeping things sleek and minimal. This makes white ombre nails a go-to for individuals who prefer a classic, polished look that stands out without being overly bold.
3. Endless Customization Opportunities
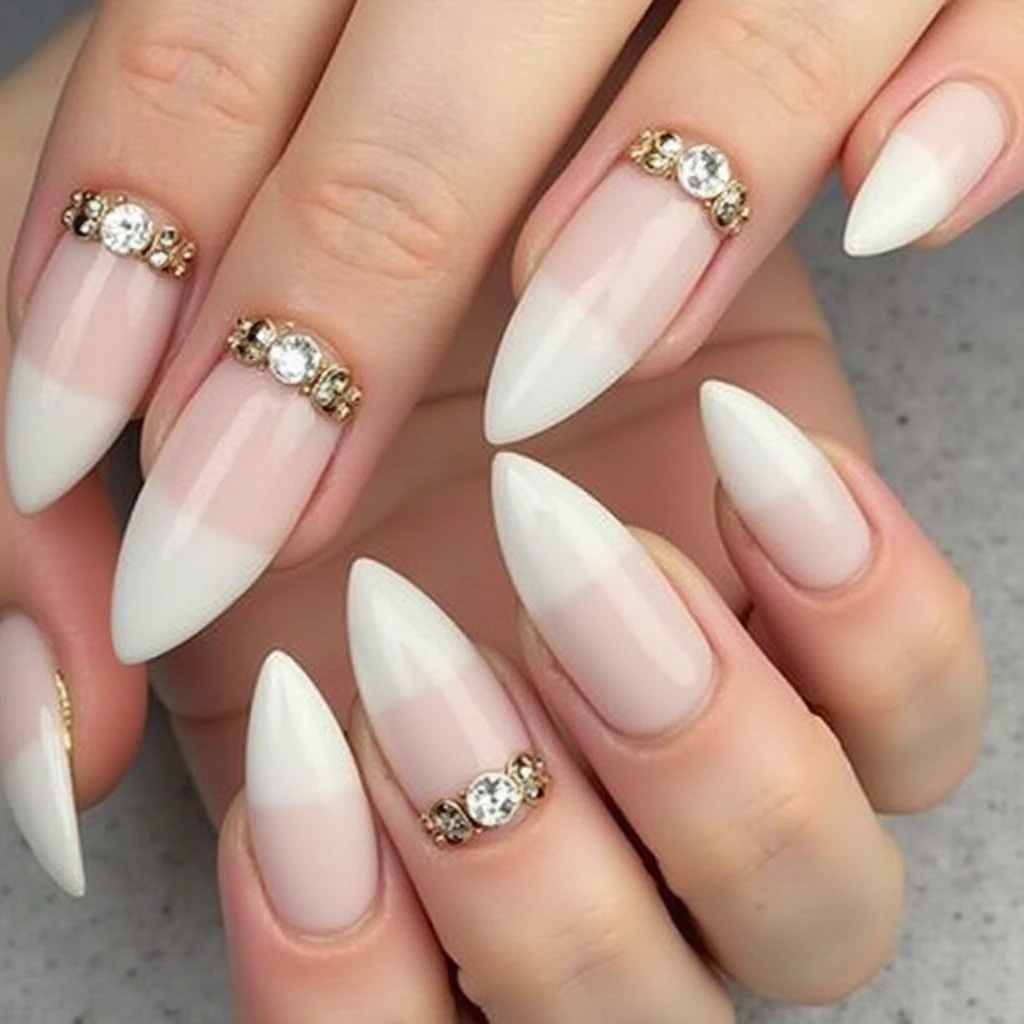
While the base white color is already beautiful, you can easily customize white ombre nails. From adding glitter to integrating soft pastel shades or even incorporating rhinestones, you can make the design your own. The ombre effect can work as a neutral canvas for a wide variety of styles.
How to Create White Ombre Nails: Step-by-Step Guide
The best part about white ombre nails is that they’re achievable at home with the right tools and a little patience. Follow this simple guide to create beautiful ombre nails.
1. Nail Preparation
Before starting any manicure, prepping your nails properly is essential to ensure the best results.
Key Steps to Nail Preparation:
- Remove Old Polish: Start by cleaning your nails with a non-acetone remover. This ensures your new polish adheres smoothly to your nail bed.
- Shape and File Your Nails: Trim your nails to your desired length, then use a nail file to shape them. Oval and almond shapes are particularly flattering for ombre designs.
- Buff the Surface: Lightly buff your nails to remove ridges and create a smooth surface for polish application.
- Apply Cuticle Oil: Hydrate your cuticles with nourishing oil to ensure the overall appearance of your nails is fresh and well-maintained.
2. Apply the Base Coat
A good base coat is crucial for protecting your nails and ensuring a long-lasting manicure. Apply a thin layer to each nail and let it dry completely.
3. Apply the White Nail Polish
Choose a high-quality white nail polish that’s opaque and smooth. It’s the foundation of your ombre design.
- First Coat: Apply a thin layer of white polish to each nail. Allow it to dry completely before applying a second coat.
- Second Coat: For better opacity and an even finish, apply a second coat of white polish and let it dry thoroughly.
4. Create the Ombre Effect
The ombre technique is what gives your nails that beautiful gradient effect. To achieve this, you’ll need a makeup sponge.
Steps to Create the Ombre Effect:
- Prepare the Sponge: Take a makeup sponge and apply a small amount of white nail polish at the bottom of the sponge. At the top of the sponge, apply a lighter color of your choice, such as light pink, peach, or silver glitter.
- Apply the Sponge to Your Nails: Gently press the sponge onto your nails, starting at the tips and working your way toward the base. Use a light, tapping motion to blend the colors together. Repeat until the gradient effect is smooth.
- Blend the Colors: Ensure the transition between the white base and the secondary color is soft and gradual. You may need to go over it a couple of times for a seamless look.
5. Seal with a Top Coat
Once you’re satisfied with the ombre effect, apply a clear top coat to protect your design. This will add a glossy shine to your nails and prevent them from chipping.
- Generously Apply the Top Coat: Apply a thick layer of top coat to all your nails to ensure the ombre effect lasts longer. Let it dry completely.
6. Clean Up Around the Nails
After the top coat has dried, use a small brush or cotton swab dipped in nail polish remover to clean up any excess polish around your nails.
Creative White Ombre Nail Variations
Once you’ve mastered the basic white ombre nails, you can start experimenting with variations to make them uniquely yours.
1. White Ombre with Glitter
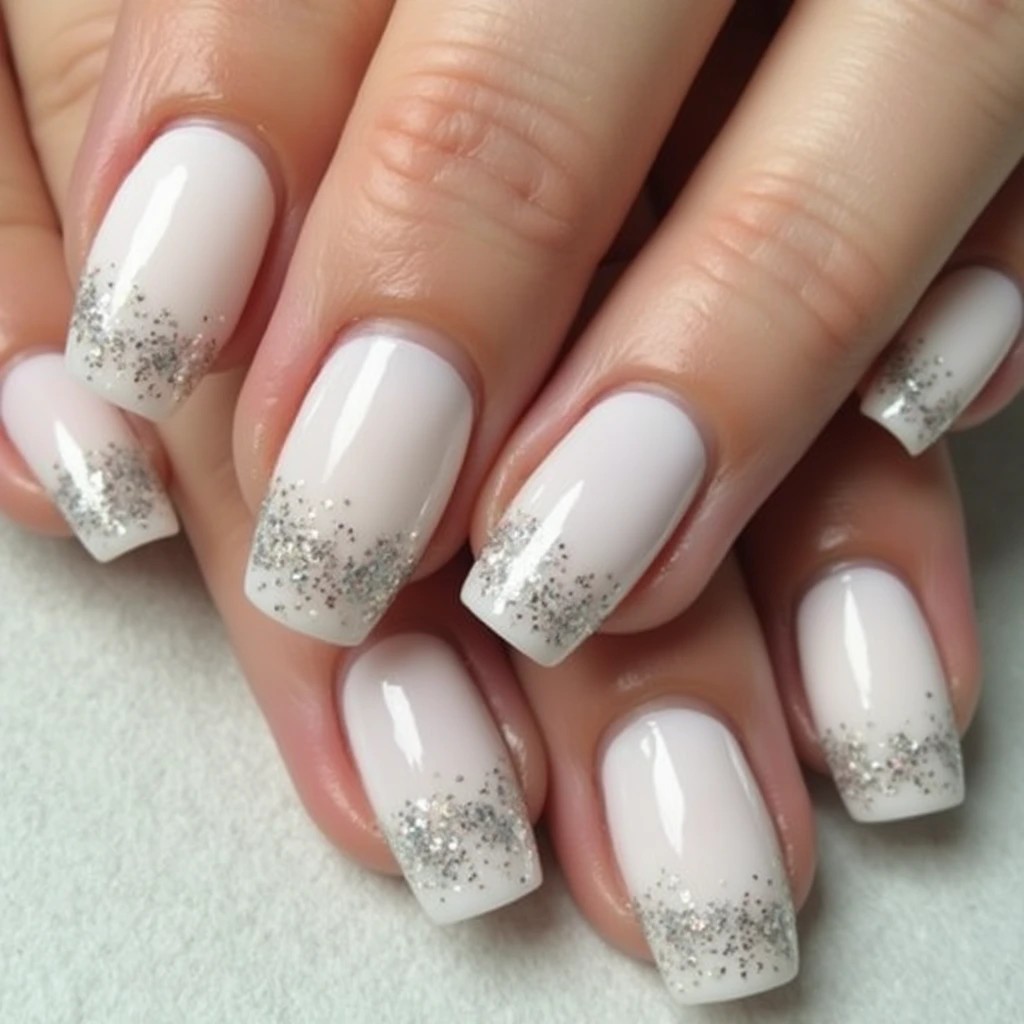
Add sparkle to your white ombre nails by incorporating glitter polish. Whether you add it to the tips or blend it into the gradient, glitter will elevate the elegance of your design.
- How to Create: After completing the ombre process, apply a layer of glitter polish to the tips of your nails. Alternatively, you can also add a subtle glitter fade to the center for an ethereal, shimmering effect.
2. White Ombre with Floral Designs

Floral patterns can add a touch of femininity to your white ombre nails, making them perfect for spring, weddings, or any occasion that calls for a softer, romantic look.
- How to Create: Use a fine brush to paint small, delicate flowers on the base of the nails or on one or two accent nails. Keep the flowers minimalistic for a more elegant feel.
3. White Ombre with Metallic Accents
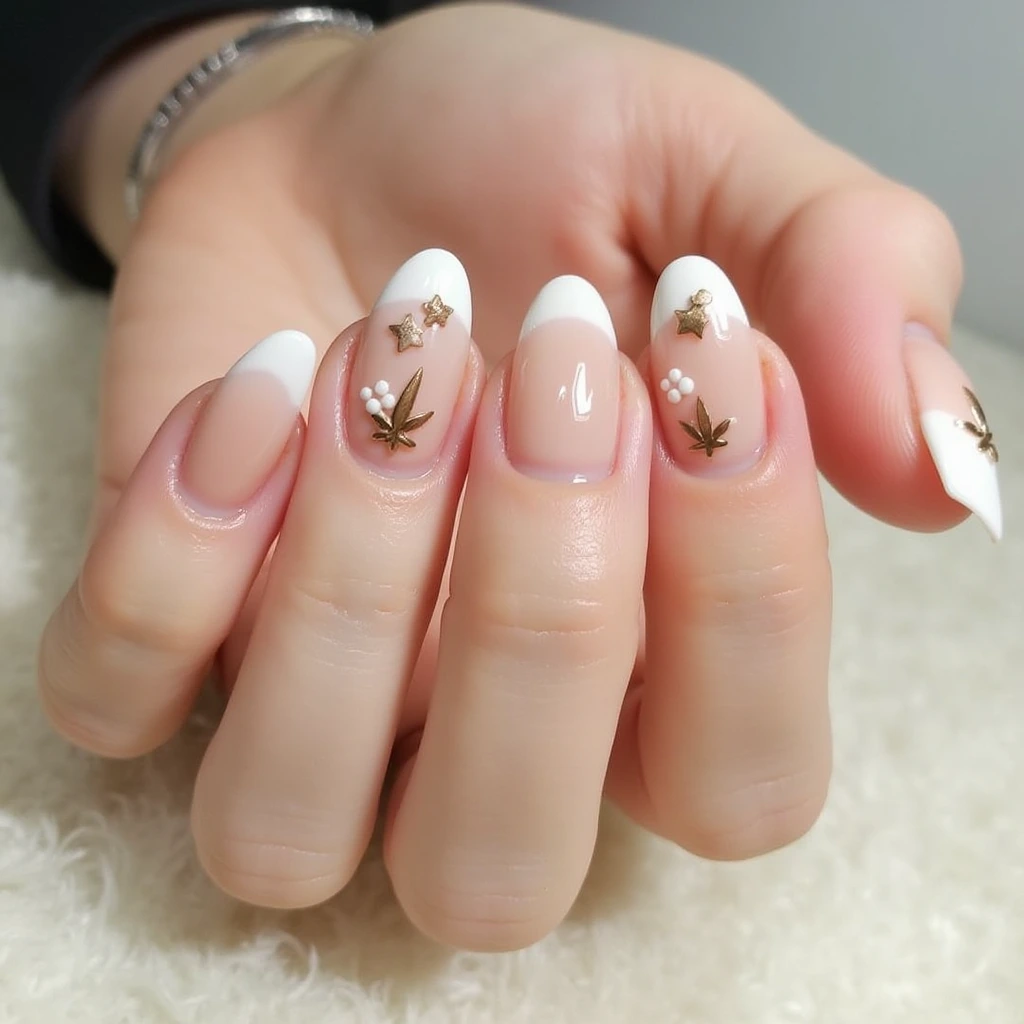
For a more luxurious and modern twist, consider adding metallic details like gold or silver foil. These accents bring a glamorous, high-fashion edge to your ombre nails.
- How to Create: Apply gold or silver metallic foil along the tips or in thin stripes. These accents pair beautifully with the soft gradient and add contrast.
4. Reverse White Ombre Nails
For a slightly bolder take on the ombre look, try reverse ombre, where the gradient effect begins at the base and fades out towards the tips. This creates a striking and unconventional design.
- How to Create: Follow the same process as the traditional ombre, but reverse the application. Start with the lighter color near the base and gradually fade it to white at the tips.
How to Care for White Ombre Nails

To ensure your white ombre nails stay looking flawless for as long as possible, proper aftercare is essential.
1. Reapply Top Coat Regularly
Keep your nails looking fresh by applying a top coat every 2-3 days. This will help maintain the shine and prevent your nails from chipping or fading.
2. Moisturize Your Cuticles
Hydrated cuticles and nails are essential for maintaining a healthy manicure. Use cuticle oil and hand lotion to keep your nails soft and smooth.
3. Avoid Prolonged Water Exposure
To keep your nails from getting damaged or chipping, avoid soaking your hands in water for long periods. Wear gloves when doing dishes or cleaning.
Frequently Asked Questions about White Ombre Nails
1. How long do white ombre nails last?
When done correctly, white ombre nails can last anywhere from 7 to 10 days. Using high-quality polish and a good top coat will help your design last longer.
2. Can I do white ombre nails at home?
Yes, you can! With the right tools (like a makeup sponge, high-quality polish, and top coat), creating white ombre nails at home is entirely possible and easy to do.
3. What is the best way to remove white ombre nails?
To remove white ombre nails, use a non-acetone remover and gently wipe off the polish. Be sure to moisturize your nails afterward to keep them healthy.
4. Can I add rhinestones to my white ombre nails?


Yes, rhinestones can be a beautiful addition to white ombre nails. You can place them at the tips, cuticles, or on accent nails for a touch of glamour.
Conclusion: Embrace the Elegance of White Ombre Nails
White ombre nails offer the perfect balance of elegance and versatility. Whether you’re attending a special event or want a chic, everyday manicure, this design can elevate any look. With a little practice and the right tools, you can easily create stunning white ombre nails that will make a lasting impression.
So, why wait? Grab your favorite white polish, gather your tools, and start creating your own gorgeous ombre nails today. Share your stunning designs with others, and embrace this timeless, sophisticated trend.
Call to Action: Ready to try your own white ombre nails? Let us know how your design turns out and share your creations with us on social media!